Sunday, 2 September 2012

SDI RESCUEAN INSTRUCTOR


Although a little late, I thought that I should do a brief write up of my SDI RescuEAN instructor course with Mark Powell. 

So what is RescuEAN?  The RescuEAN Pod is a life-saving product that delivers Nitrox & decompression gas O2 mixes safely in a constant flow to an injured diver in accordance with the standards of current best clinical practice. It can be used for both conscious and unconscious casualties, as well as those individuals who deteriorate into Cardiac Arrest and require resuscitation prior to the arrival of the Emergency Medical Services.

It all started in early June following discussions with Martin Kerley of RescuEAN and Stephen Phillips of SDITDI UK who recommended Mark as an Instructor Trainer of this SDI specialty (and many other SDI and TDI courses).  Now I could introduce Mark however his reputation speaks for itself as one of the leading instructor and instructor trainers in the UK.

After many emails trying to agree a date and a location we agreed on TekCamp as we would both be attending.  I was sent the training materials to study and looked forward to TekCamp (my report can be found here).  TekCamp came and the days soon passed by and before I knew it there was only one day left so on the Thursday night we did the crossover.

Mark started by explaining how to run the course and how it can be incorporated into other SDI programs including CPROX and CPR1st Administrator courses.  I then gave one theory and one practical lesson chosen at random.

The theory lesson Mark chose was the component parts of the pod and as expected, Mark had his assessment slates with him.  I’ve always been very self-critical and giving a lesson in front of someone as knowledgeable as Mark didn’t help ease my nerves but the lesson went fine.  I then moved onto the practical lesson which was pod set up and use (available as a pdf download here).  To help me with the lesson I had brought over my training o2 kit which contained a variety of masks; the pocket mask, the re-breather mask and the bag valve mask.  I also had a cylinder and regulator set with me.  Again the lesson went fine.

Afterwards Mark gave me some useful hints and tips and that was that, course done.  Without trying to take business away from myself, I can’t express how knowledgeable Mark is and how good an instructor he is.  Hopefully in 10 years I can be where he is in terms of recognition and ability.

Since doing the course I am now a dealer in RescuEAN pods.  RescuEAN's price list is here, and I will always price match any genuine price however a deal can always be done, especially if you want to do the SDI specialty.

The boring bit!
All opinions expressed in my articles are my own and may differ to other instructor’s and agency guidelines; by no means are they wrong and I would not wish to disrepute any of them.  This article is for information only and should not replace proper training.

Safe diving!

Timothy Gort
BSAC, PADI & SDI/TDI diver training
l Mob: 07968148261 l Email: tim@rectotec.co.uk l

Saturday, 18 August 2012

HOW TO: THREAD A BCD CAMBAND

It amazes me how many times I’m at a dive site and I hear people asking for help to re-thread their BCD camband when it comes off.  I’ve even seen instructors ask other instructors after their student has approached them.  I don’t know why I’m surprised because actually when you come to think of it, when are we taught this in our training?  As far as I can tell we’re not.  Sure we’re taught how to put our equipment together but the camband is already made up.

With that in mind here is my how to guide.
(This was done on an AP Valves camband.  Most manufacturers should be similar however there are exceptions such as Halcyon’s Single Tank Adaptor (STA) which uses a slightly different design)

Firstly thread the free end of the camband through the metal d-ring attached to the buckle.


Next pass the free end through the left hand slot on the buckle (furthest away from the d-ring).


Now pass the free end back through the right hand slot on the buckle (closest to the d-ring).


And pull tight.
Now the rest is the same fitting it to your cylinder, however for the benefit of those who have forgot….

Keeping tension on the free end of the camband, close the buckle half way and thread the camband through the only available slot on the buckle.


Pull tight.


And snap shut.


The boring bit!
All opinions expressed in my articles are my own and may differ to other instructor’s and agency guidelines; by no means are they wrong and I would not wish to disrepute any of them.  This article is for information only and should not replace proper training.

Safe diving!

Timothy Gort
BSAC, PADI & SDI/TDI diver training
l Mob: 07968148261 l Email: tim@rectotec.co.uk l

HOW TO: TIE A BOLTSNAP USING AN O-RING


Boltsnaps are commonly attached to primary regulator hoses, high pressure hoses, backup lights and goodman handles for easy stowage.  The preferred and most secure method is to use cave line (how to guide here) however some prefer this method. 


You will need the following:
1. AP1420 o-ring (found in Apeks first stage service kits).
2. Boltsnap (or p-clip).
3. Hose, light or goodman handle.

This method will only work with a large o-ring.  The one I’ve used is an AP1420 o-ring (9) which is used on the swivel section on the Apeks DST first stage.  Any dive shop should be able to get this for you.

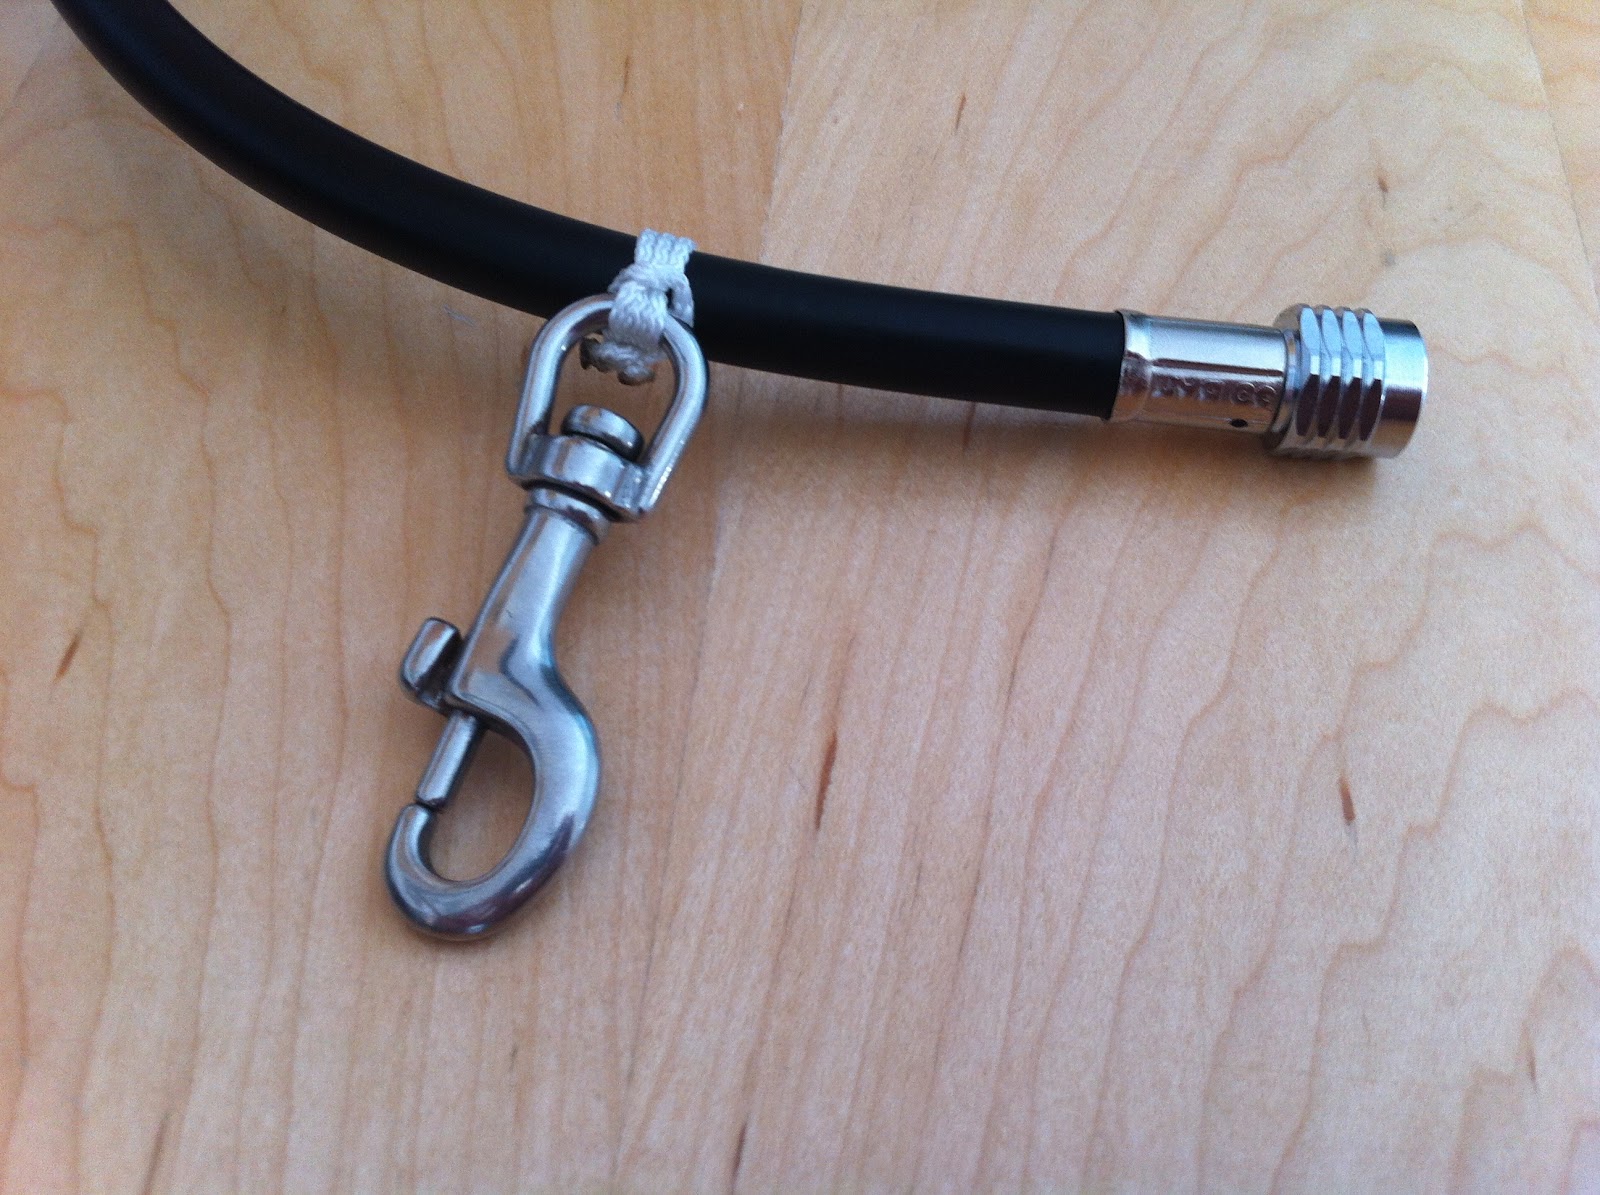
This one is really simple.  Thread the o-ring through the eye of the boltsnap.


Now thread both loops over the hose.  Voila. 


This is not as secure as using cave line but some people prefer it as it can easily be cut away.  I hope that this is helpful to some of you. 

The boring bit!
All opinions expressed in my articles are my own and may differ to other instructor’s and agency guidelines; by no means are they wrong and I would not wish to disrepute any of them.  This article is for information only and should not replace proper training.

Safe diving!

Timothy Gort
BSAC, PADI & SDI/TDI diver training
l Mob: 07968148261 l Email: tim@rectotec.co.uk l

HOW TO: TIE A BOLTSNAP


Boltsnaps are commonly attached to primary regulator hoses, high pressure hoses, backup lights and goodman handles for easy stowage.  This is a simple skill which I often find myself showing people so I thought I’d try to make a step by step guide.  I would like to clarify however that there are many ways of doing this; this is mine.


You will need the following:
1. 12”/30cm of cave line (the stuff from your spool).
2. Boltsnap (or p-clip).
3. Hose, light or goodman handle.
4. Scissors or a sharp blade.
5. Lighter.


Wrap the line around the hose and clip three times then pull tight.


Now we’re going to start the knot.  Cross the 2 ends over each other.


Now we’re going to tie the knot on the other side to lock the boltsnap in place.  To do this, flip the boltsnap over and pull both ends round.


Next we’re going to tie a reef knot to secure the boltsnap.  Remember left over right; right over left.  Tie the first half of the knot and pull tight.


Next tie the second half of the knot.  If this is done incorrectly it will be a double granny know and may not hold; the finished knot should look symmetrical.  Once tied, pull tight.


To finish, cut the ends off as close to the knot as possible ensuring you leave a few millimeters.


And melt the ends with a lighter, flattening them with the base of the lighter.  This will stop the ends from fraying and reduce the risk of the knot coming undone.


The end result should look something like this; tight enough that it doesn’t slide down the hose but also aids the boltsnap to standup so it’s easy to locate.


I hope that this is helpful to some of you.  An alternative method can be found here.

The boring bit!
All opinions expressed in my articles are my own and may differ to other instructor’s and agency guidelines; by no means are they wrong and I would not wish to disrepute any of them.  This article is for information only and should not replace proper training.

Safe diving!

Timothy Gort
BSAC, PADI & SDI/TDI diver training
l Mob: 07968148261 l Email: tim@rectotec.co.uk l

Friday, 17 August 2012

JACK INGLE TECHNICAL DIVING SOUTH COAST DIVING EXPEDITION

On the request of a few people, I’d thought I’ll write a trip report for a Jack Ingle mid-week expedition I’ve done out of Littlehampton.

The day started early at 0500 on Tuesday 22 June for the journey down to Littlehampton.  The journey was easy enough and the town looks a lovely place.  After the M25 traffic, I arrived at 0900 and met up with Jack and prepped my kit for the 1000 ropes off.  Andy arrived shortly after after going via the hotel and we settled in on the boat.  The weather was glorious sunshine; what more could I ask for?  Tuesdays dive was to be the Moldavia; as Jack says ‘the best wreck dive in the UK’ and after diving it, I think he has a fair point but let’s not argue on that.  The Moldavia was a 9505-ton P&O liner, which became an armed Merchant Cruiser in the 1914-18 war.  A U-Boat sank her in 1918 captained by Ober-Leutnant Lohs.  She now lies on her port side in 49 metres with her high side at 35 metres; this makes her a very exciting and enjoyable dive with generally excellent visibility. She carried eight 6 inch guns and when built fitted with over 1000 portholes.  After a 26 mile trip out (about 2hrs) the shot was dropped and trapeze lowered and we waited for slack.  Once we got the nod we all kitted up and went in.  Jack was already in, making sure we tagged out and pointed us in the direction of the bow.  The wreck is far too big to see in one dive so at the brief it was decided to concentrate on the bow.  The first thing that struck me apart from the sheer size of the wreck was the visibility.  It was crystal clear.  Seriously, I couldn’t believe it.  I’m a big fan of UK diving but this was something else.  Although I carried a distance line, it wasn’t used due to the visibility however we did attach a strobe to the shot line clipped on about 10m off the bottom.  This then made it simple to identify the line from anywhere on the wreck.

One the bottom we had a look around the shot area, noting the huge 4.7 inch gun that was intact and pointing upwards.  We descended to the bottom and swam through some of the collapsed wreckage towards the bow.  The bow is really open with a massive swim through that goes quite a way through the wreck.  At about 18 minutes, Andy and I entered the wreck.  Inside we could see light penetrating through so we continued until we got to this area.  At this point, further penetration could have been achieved but we decided to exit the wreck and return to the shot.  The light was coming from an area where plates had collapsed and with a bit of wiggling I managed to get through.  It took Andy a bit more squeezing and with a little bit of help he was free.  We exited near to the shot and at 30 minutes began out ascent.  We were the last pair to leave the bottom but only just; most divers had between 20-30 minutes bottom time.  Once we reached the trapeze transfer line, I removed our tag but decided to leave the transfer line attached for Jack to disconnect as briefed.  At the trapeze, Jack came back down to see if we were all ok before disconnecting it.  During the decompression it’s safety in numbers; 12 people around the trapeze at various levels plus the deco bottle hanging for emergencies so we were confident that if there was a problem, it could easily be resolved underwater.  Following a lot of decompression we completed the dive and surfaced at 80 minutes and waited for the boat to pick us up.  Upon the boat, we all laughed and joked and told stories about the dive before heading off on the long trip back. 

Here is probably a good time to talk about the boat.  The Voyager is one of 3 boats (to my knowledge) operating from Littlehampton.  The other 2 are Our Joy and Michelle Mary.  Having seen all 3 boats in person (the other 2 were moored up), the Voyager is definitely the largest of the 3.  There was comfortably enough room for 13 divers (OC and CC) plus kit and stages.  On the way back we ate our lunch and generally chilled out.  Each day, prior to the dive, Jack goes to Tesco and buys ample sandwiches, cake bars, biscuits, crisps, fruit, juice etc... and if there’s anything specific you want, he’ll buy it.  It’s all included in the cost.  Once we arrived safely back at Littlehampton we dropped our cylinders off with Jack for filling and retired back to the hotel; the Arun View.  The Arun View is just one of a few hotels that Jack recommends and at £25 per person per night including breakfast, it’s pretty reasonable.  The staff were friendly and the food was superb.  Everyone met up at 1930 for a group meal before we all retired to bed.  The only down side was that our (Andy and I) room was directly above the bar so we were kept awake with the music but the staff apologised the next day and the music was turned down.

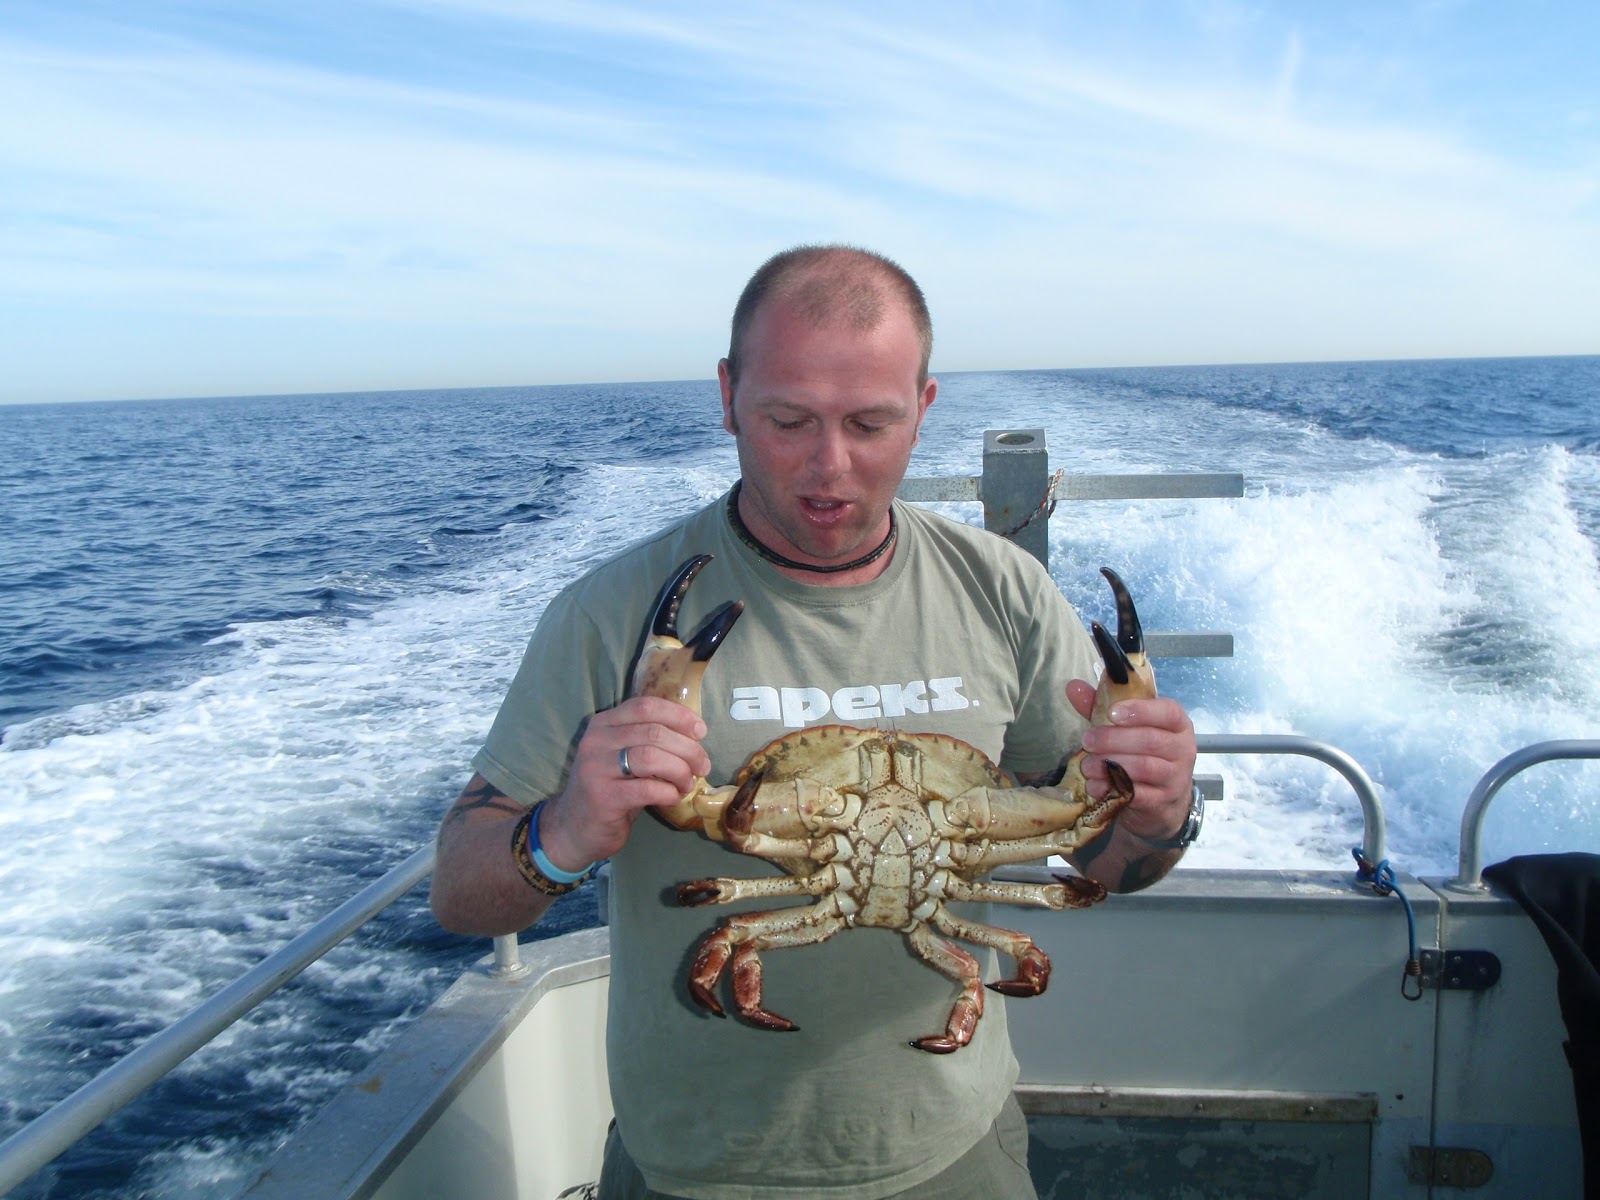
0900 breakfast then off to Osbornes boatyard for another days diving.  Wednesdays dive was the Mexico.  The Mexico, or City of Mexico for her full name was a cargo liner and lies in a maximum depth of 48 metres. She is upright and large hull sections are raised 10 metres from the seabed. The wreck has an enormous amount of fish on it.  At 1100 we left the harbour and headed the 30 miles out to sea.  On setting up the kit Andy noticed that whilst trying to exit the Moldavia, he managed to put a slice through his HP hose.  Luckily Jack had a spare and this was soon sorted.  However the HP dramas didn’t end there as one of the other divers turned on his deco gas only to head a loud ‘crack’ followed by a rush of air.  Once the cylinder was turned off it became apparent that the plastic cover over the HP gauge popped off.  Beaver.... buy cheap buy twice....!  Once again, this was soon rectified and we continued our journey out to sea.  In a similar manner to the previous day, the shot and trapeze was in and we waited for slack water.  Whilst kitting up and fidgeting, Andy accidently rested his twinset on his mask smashing it in the process.  Luckily, someone had a spare on the boat and he was good to dive.  Lesson learnt!  Don’t leave your spare mask in the car.  I always have a spare in my dry suit pocket.  On the way down, Jack was again waiting however this time he was in possession of a China tray he found on the bottom.  Although good, the visibility was not as good as the previous day, however torches were still not required.  The wreck was much smaller than the Moldavia and is easy to do in one dive.  Imagine the Elk, but bigger and deeper with holds to penetrate.  On the wreck I saw the biggest lobster and crabs I’ve seen in the UK as well as lots of free swimming eels.  The bottom time today was 25 minutes and again were the last to leave the bottom.  The decompression was done without any problems but a point to note; even with 40% and 80% deco mixes, our total time was 60 minutes.  An extra 5 minutes bottom time = an extra 20 minutes total time.

Once the cylinders were in, we all headed off to the hotel for another meal.  Once again, the food was superb (and the waitresses were hot) and a pleasant evening was had.  Jack popped in to say hello but unfortunately he couldn’t stay as he had to blend all the gas for the final days diving but more on that to come.  After a few beers it was back to bed (for a much quieter night this time).

It was decided that for the last day, we would catch the early slack to avoid finishing at about 1830 and finish around 1400 instead to allow everyone to travel home.  After a 0630 breakfast, it was ropes off at 0730 and we headed out to the Duke.  The Duke, or Duke of Buccleugh to give her full name is a cargo vessel that sunk in 1898 whilst carrying glass and chinaware from Holland to India.  This is a very interesting wreck to dive with lots of different types of glass cargo to see.  The load includes small china glass candleholders, tumblers, jars, teapots, dishes, plates and oil lamps.  Once again, it was another 2.5 hours to the site and with the shot and trapeze in, we descended down.  We were brought back to earth with a bump today because the visibility is what I would expect from the UK.  It wasn’t bad by any means; we’d probably just been spoilt the last few days.  The seabed is at 60m but on advice, we decided not to head down there as there is nothing to see.  Instead we all stuck to the top of the wreck at around 52-56m to hunt for trophies.  At the bottom of the shot was the hold where all the crockery was to be found but Andy and I ignored this and headed towards the bow to look for the glass.  On the way we passed the huge funnel that had broken off and the boiler before dropping into the hold for a ‘rummage’.  5 minutes later our net bags were laden with glass bowls, glasses and candle holders and we headed back to the shot for some crockery.  As we headed back others were heading for the glass.  The glass is to be found in the hold just before the bow section breaks away.  There is plenty on the deck but if you rummage around in the mud you may be surprised at what you can find.  As we neared the shot, divers were everywhere.  Most of the crockery out in the open was broken so I left my bag with Andy and dropped down into a hold.  Inside there were stacks of plates so if gentle enough you could lift a whole stack out.  I began passing plates up and out to Andy who placed them down.  Unfortunately time was running out so I exited, grabbed a plate and started the ascent.  On the way up, Andy and I clipped our bags to the lift bag.  Once we got to the transfer line, we clipped the bag to the shot line and sent it up.  Following another 50 minutes deco we left the water on 85 minutes and de-kitted.  Upon checking our finds, Andy’s bag appeared to be missing but his clip was on there.  It transpires the bag ripped off on its way up.  Mine did the same but luckily because it was clipped on in 2 places, the second saved it.  Everyone compared their buried treasure and we headed back to land.  Once back to Littlehampton we de-kitted, loaded the cars and departed to the 4 winds.

So what was the cost of all this?  The cost was £340 per person.  This includes all gas (except helium), lunch and dives.  On top of this there’s the accommodation and fuel.  Although this may seem expensive, to hire the boat would cost over £600 compared to the £350-£450 most boats charge.  This is due to the distance travelled and fuel costs.  If you then include lunch and gas fills (twin plus 2 stages), it’s not that much more than you or I would pay if we did it by ourselves, however there’s the added knowledge of Jack plus the safety factor of drop tanks, deco trapeze and support divers so in my mind it’s worthwhile paying.  Would I do it again?  Definitely.

I’d like to thank everyone who went for a great trip and look forward to doing it again.  If anyone has any questions, please feel free to ask.

The boring bit!
All opinions expressed in my articles are my own and may differ to other instructor’s and agency guidelines; by no means are they wrong and I would not wish to disrepute any of them.  This article is for information only and should not replace proper training.

Safe diving!

Timothy Gort
BSAC, PADI and SDI/TDI diver training
l Mob: 07968148261 l Email: tim@rectotec.co.uk l